



Shooting photos on film is a labor of love, but for many the process is satisfying and the results are worth it. As much as I want to turn the spare bedroom into a darkroom, I’ve found another way to scratch that analog itch: film simulation.
Not only is this free, but it’s completely blown me away. It has me going back through my collection and looking at photos in a different light.
A data-driven approach to film simulation
When you hear the term “film simulation,” you might think of simple one-click filters in popular photo editing apps. A splash of grain here, a few color tweaks and light bleeds there. Maybe you think of in-camera “recipes” that are limited to particular brands and feel out of reach.
That’s not what Spektrafilm is. Project author Andrea Volpato describes Spektrafilm as:
“An exploration of how to make good use of spectroscopic data from manufacturer datasheets in an end-to-end, physically based model with spectral calculations, with the goal of turning that data into convincing film, print, and scan renderings that can be explored interactively.”
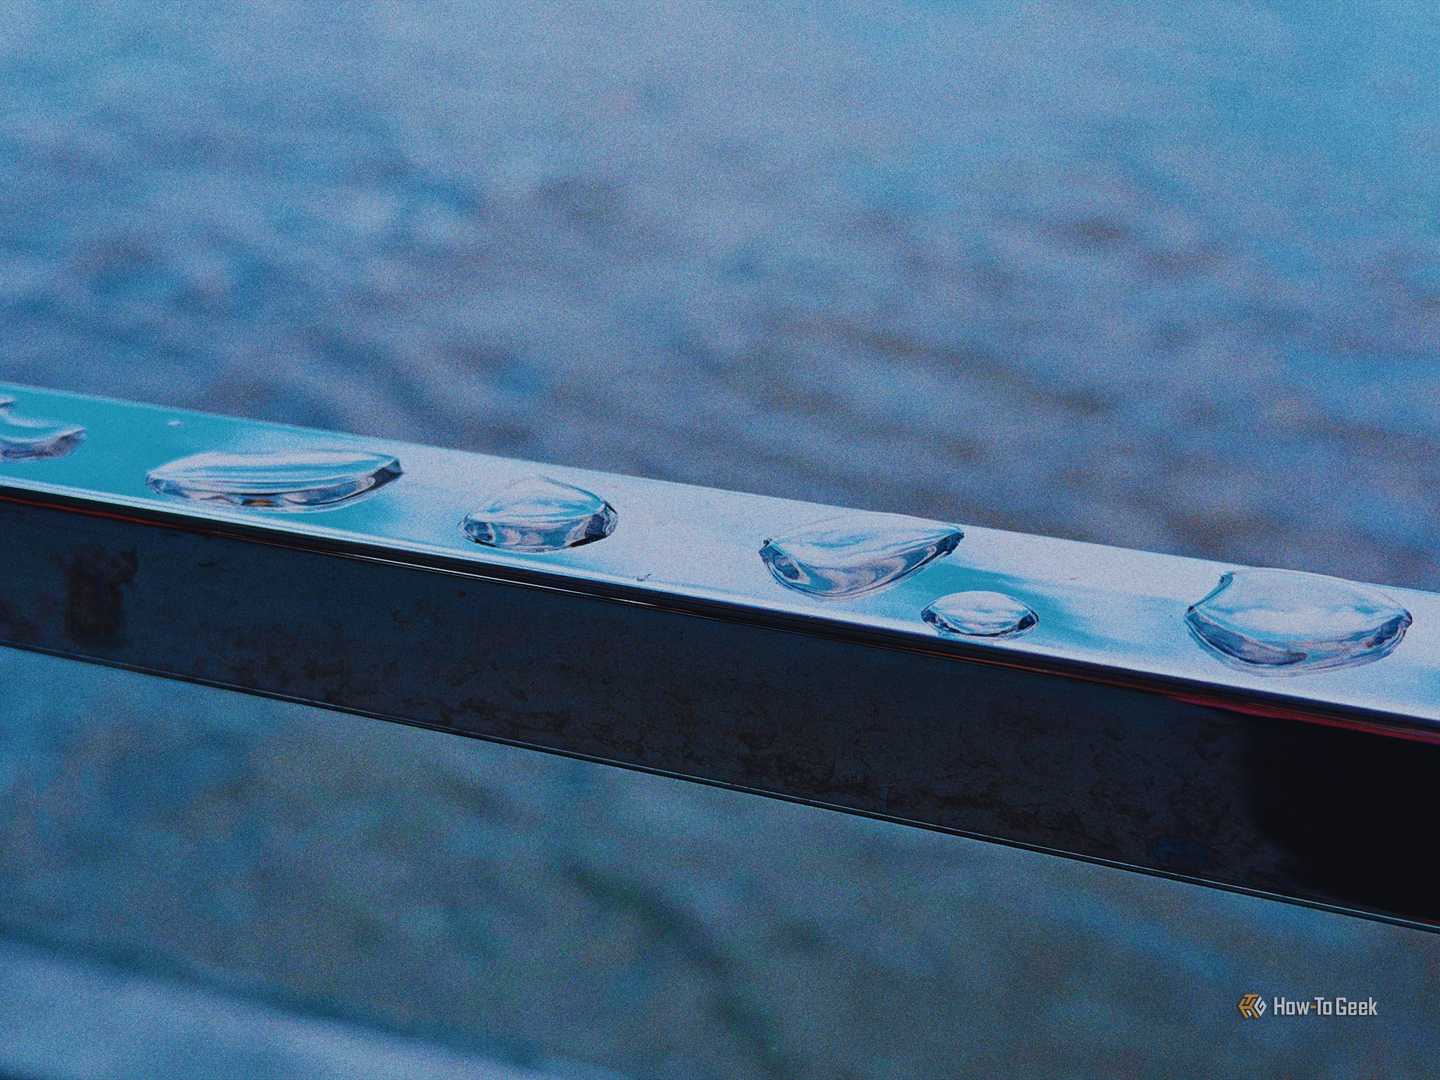
Here’s a before and after of a JPEG image (original on the right):


The filmic look becomes very apparent at 100% zoom:

The tool is built in the Python programming language, and exists outside of the realm of standard photo editors. It takes an input image (JPEG, RAW, or TIFF) and runs it through a virtual analog process. This includes aspects of developing a negative, scanning the film, and printing the finished photo. It’s up to you which film and print profile you want to use to shape the final result.
Spektrafilm goes beyond simply making your images look like they were shot on film in favor of a simulation that brings together a broad range of variables and attributes. The tool uses published data from iconic film stock and attempts to reproduce the results in software.
At present, the tool includes primarily Kodak film profiles, with some Fujifilm profiles also making an appearance. These span both still and cine film stock. Also included are a variety of print profiles.
Giving in to Spektrafilm’s workflow
Fiddle and tweak or just roll with it
Spektrafilm is relatively easy to use once you have set it up. The basic workflow involves choosing a photo to process and then picking a film and print profile. The image you see in the preview will be blurry, which is normal. You can choose to edit various parameters, with handy tooltips available explaining what each does. When you’re ready, click the Scan button at the bottom of the window and wait.

At this stage, Spektrafilm will run its full virtual analog simulation. I found myself waiting around 30 seconds for a 24 megapixel image to resolve. If you like what you see, you can hit Save and move on to the next image. Otherwise you can make changes and scan again.
I’ve been very pleasantly surprised with the results so far. I find that RAW images and TIFFs tend to offer better results than JPEGs, particularly when it comes to exposure balancing, but they also take a lot longer. My advice is to play with the various settings and save your favorite presets to file, which you can recall using the Config tab.
Though the delay is a limitation, it’s also fitting considering what a slow and meticulous process shooting on film can be. How you interact with the tool depends on how you approach the medium. Though it’s far from a one-click pony, there’s no reason that Spektrafilm needs to be anything more.


A broader approach to photo editing, where you process your images beforehand, is also possible. I took some RAW images, quickly edited them in Affinity Photo per my usual preference, and then exported them as 8-bit TIFF images (more data is always better, so 16- and 32-bit TIFFs are preferable).
Doing this gives you an opportunity to fix any glaring mistakes, like miscalculated white balance, and crop your image before you process. Spektrafilm can also adjust exposure, white balance, and crop, but it’s a lot easier to tweak sliders in your favorite RAW editors if you’re going this route. You can get very different results from the same Spektrafilm process using this approach:


The other option, of course, is to not make any changes at all. Feed Spektrafilm your naked RAW files, and submit yourself to the process just as you would if you’d shot a roll of film. Keeping this in mind while you’re taking photos can help you shoot with film-like purpose, without the cost or time delays associated with the analog workflow.
Installing and using Spektrafilm
It’s a bit fiddly
The easiest way to install Spektrafilm is using the uv package manager. How you install this depends on your operating system. macOS and Linux users can run the following command in a Terminal window:
curl -LsSf https://astral.sh/uv/install.sh | sh Windows users can run the following:
PS> powershell -ExecutionPolicy ByPass -c "irm https://astral.sh/uv/install.ps1 | iex" With uv installed, you can clone and run Spektrafilm with the following command:
uvx --python 3.13 --from git+https://github.com/andreavolpato/spektrafilm.git spektrafilm This will grab the project from GitHub and run it. If you close Spektrafilm, you’ll need to run this command again. Alternatively, you can install Spektrafilm permanently by running the following command:
uv tool install --python 3.13 git+https://github.com/andreavolpato/spektrafilm.git Once you’ve done this, you can just run the spektrafilm command in your command line tool of choice. You’ll find more Spektrafilm spin-offs on the project’s GitHub page.
Looking for a nice camera that captures RAWs while still fitting in your pocket? Check out some point-and-shoots that will blow your smartphone away.